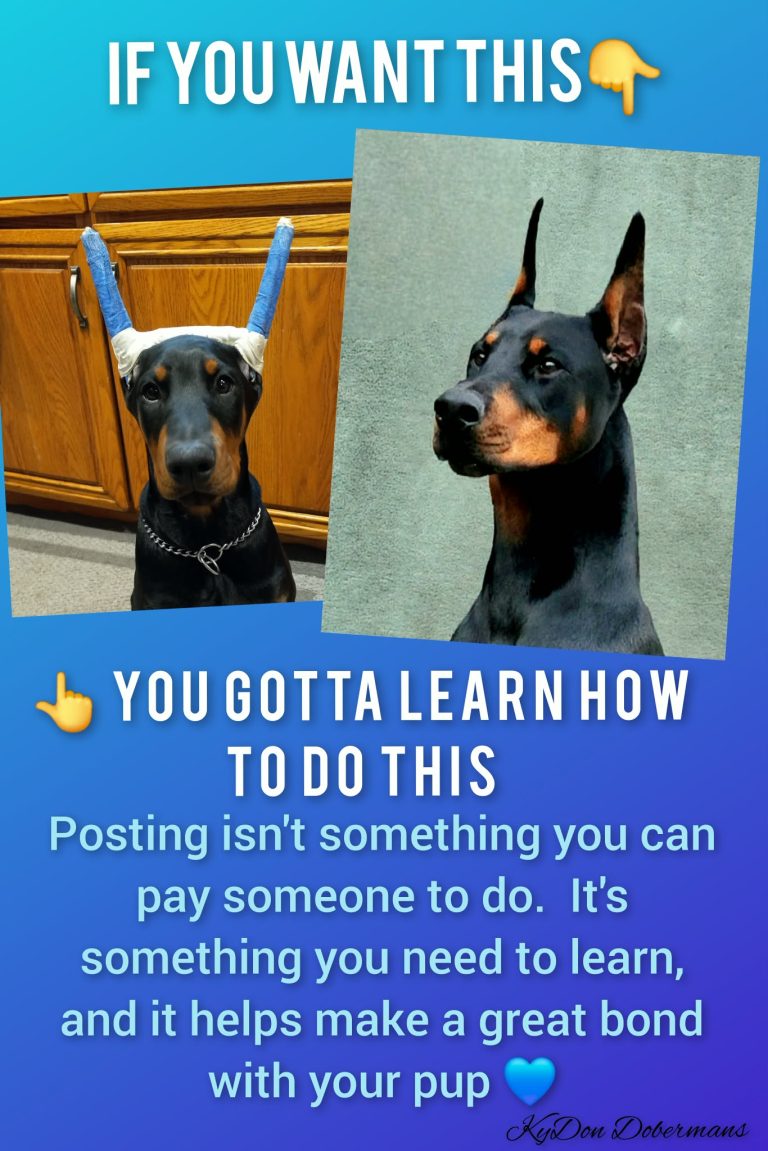
Ear Posting Instructions

Angels Aussies and Dobies

Welcome to my ear posting primer

Interestingly, you will meet people who tell the "one" way to do it, and truthfully, there are many roads to Rome and they are all CORRECT!!!
This is my favorite saying, because with ear posting, as well as any other endeavor one embarks upon, there are so many ways to do it.
Take this as a primer on the 2 different types of postings, that I find most easy.
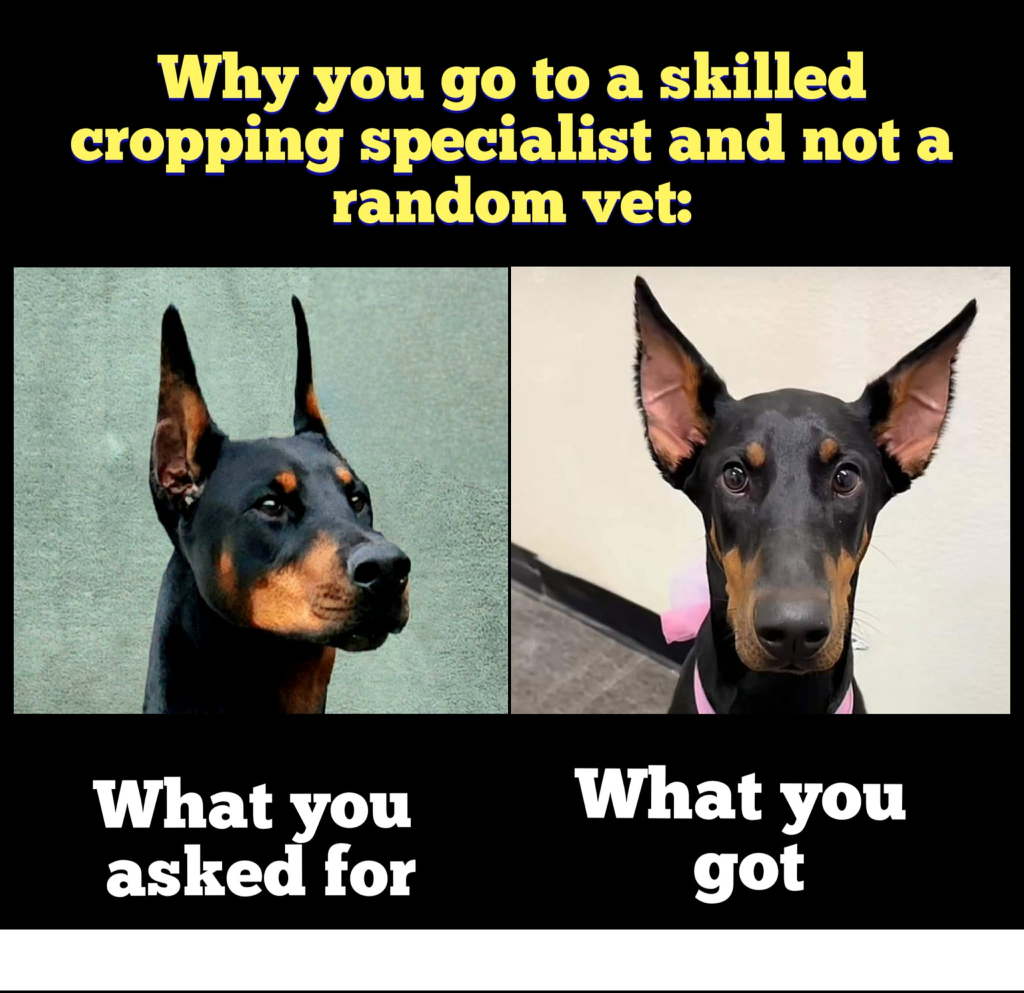
The bottom line is: Its not a fashion show, its a thing you do until the cartilage has grown into an upright position.
Some dogs can stop posting at 6 mo, and some go 14 months (think extra long show crop).
The more simple it is, the better you will do! Feel free to email if you have any questions!

Posting Using Tampons

Here will be  posting using Tampons –I prefer this method as its fast, and if you use 3M low tack tape, (or sport tape) it breathes and easily tears off when changing the posts.

I do not like having scissors around their ears, I have heard so many horror stories of “oops the scissors slipped” so if you use low tack tape you can gently tear it off.

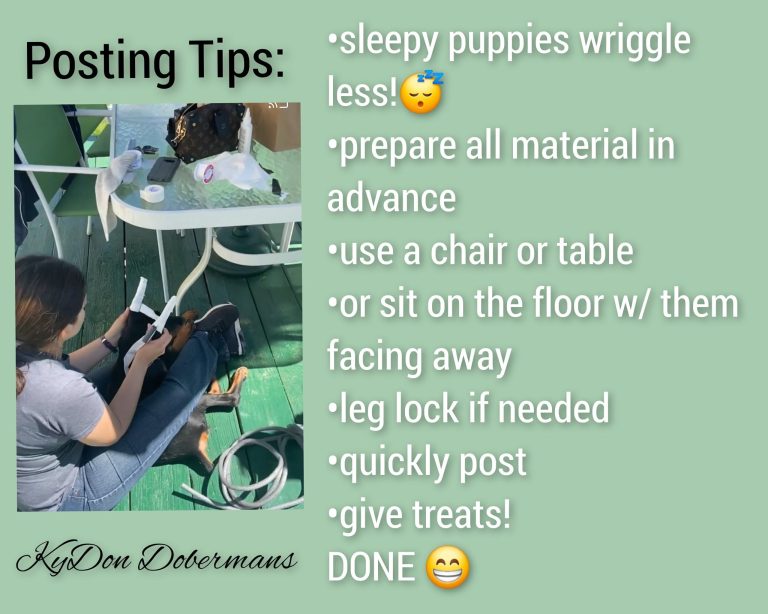
Scroll to the bottom for steps! Image Courtesy of Diana Kydon.

Strengthening the Post

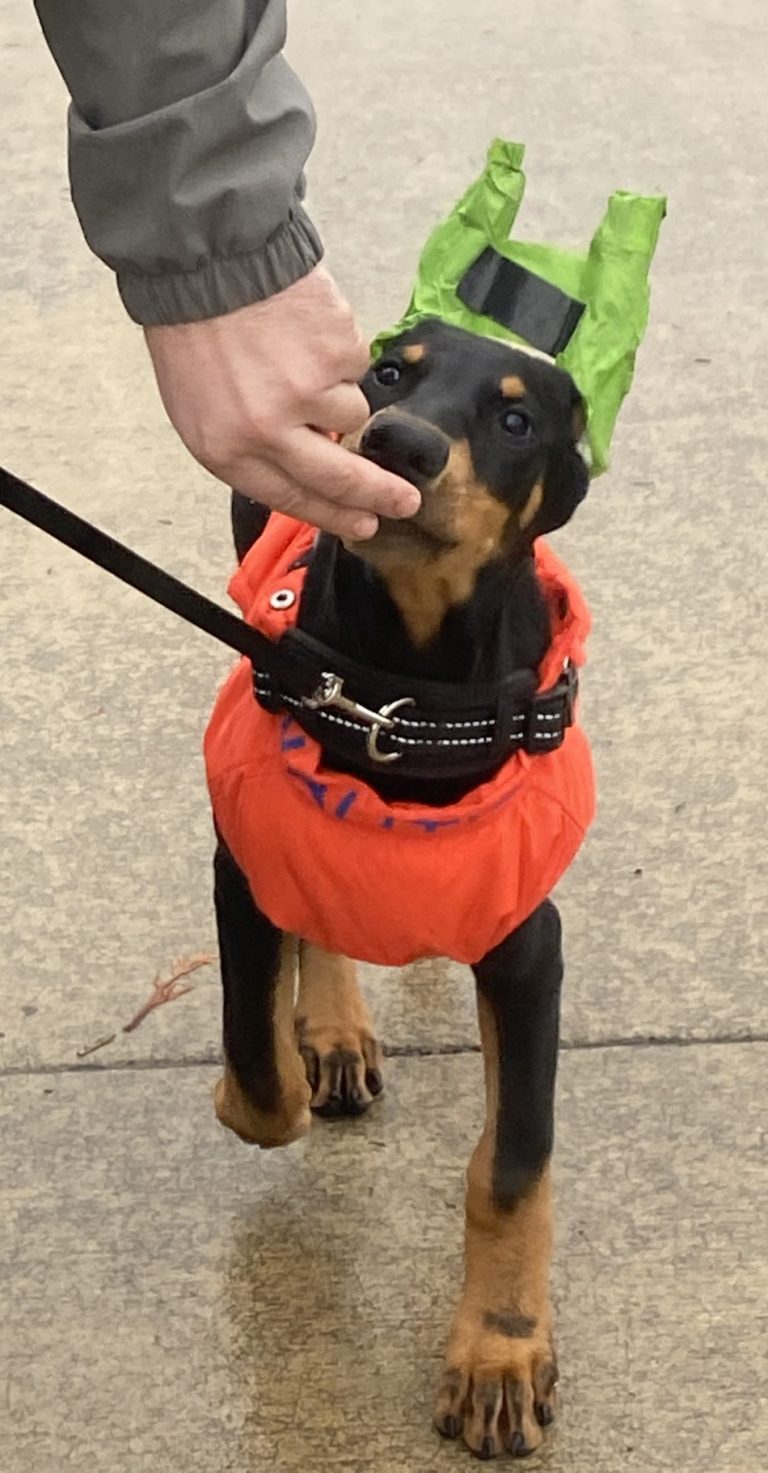
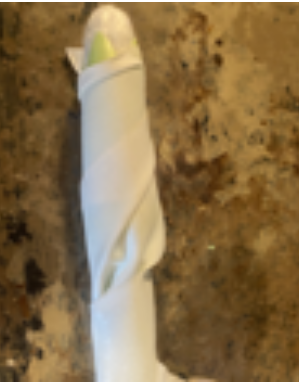
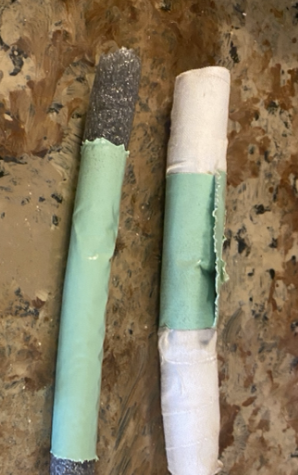
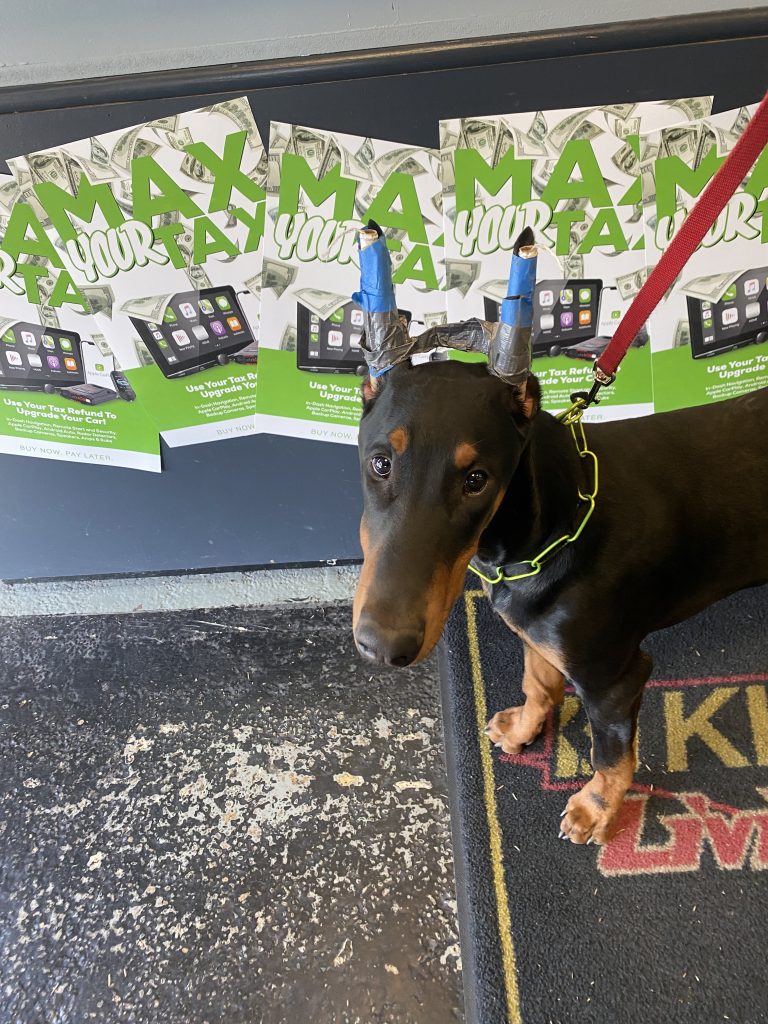
To post with Tampons, or backer rods, any material you decide to choose for use to post, you can strengthen them by using Gorilla or Duct tape around the outside to keep the post firm. Not on the dogs ears, on the post. (see pics to left)

You can use backer rods, or other items you may have heard or seen,  but I absolutley stand by tampons. I believe “KEEP IT SIMPLE”

I WANT TO STRESS THAT  GORILLA TAPE OR DUCT TAPE DOESN’T TOUCH THE OUTSIDE HAIR OF THE EAR!!! NOT ON DOG HAIR OR SKIN! 

ITS ONLY TO STRENGTHEN THE TAMPON OR ROD.

Important Note

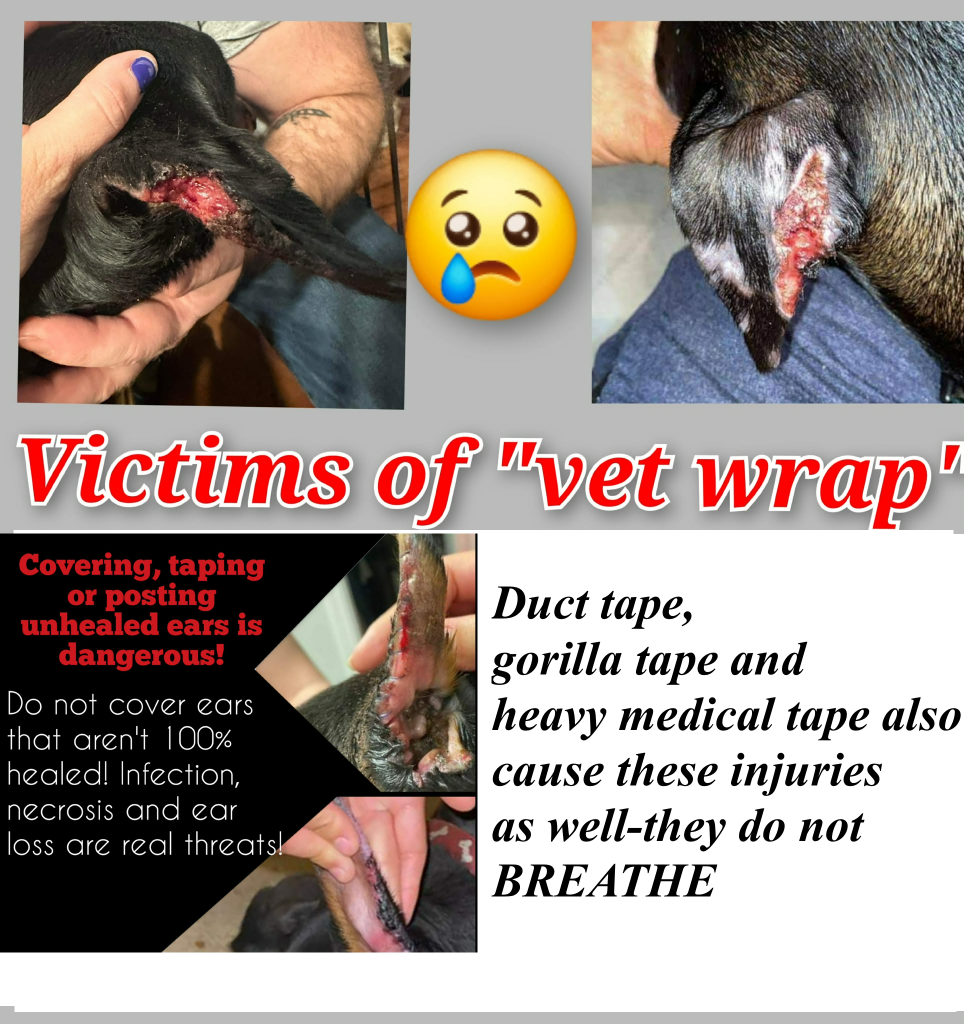
NEVER USE DUCT TAPE OR GORILLA TAPE ON THEIR EARS, the adhesive can cause PULL HAIR OUT, cause allergic reactions — the lack of breathability causes them to get gross, gooey, infected and skin rots, (necrosis).

You could substitute Backer Rod, however, I swear by Tampons. 

The Backer rod is found at Home Depot.

01
Step 1
Shave the inside of the ear, this is so the tampon sticks to the skin once it has backward wrapped tape on it. Start with a tampon that is the length of the puppies ear.

Stiffen the outside with Gorilla/Duct tape, so it doesn't slide.
02
Step 2
Take the tampon, and backwards wrap tape from top to the bottom , so the sticky side is facing out the length of tampon; pulling some fluff out-the bottom; the fluff protects ear canal and absorbs moisture.
03
Step 3
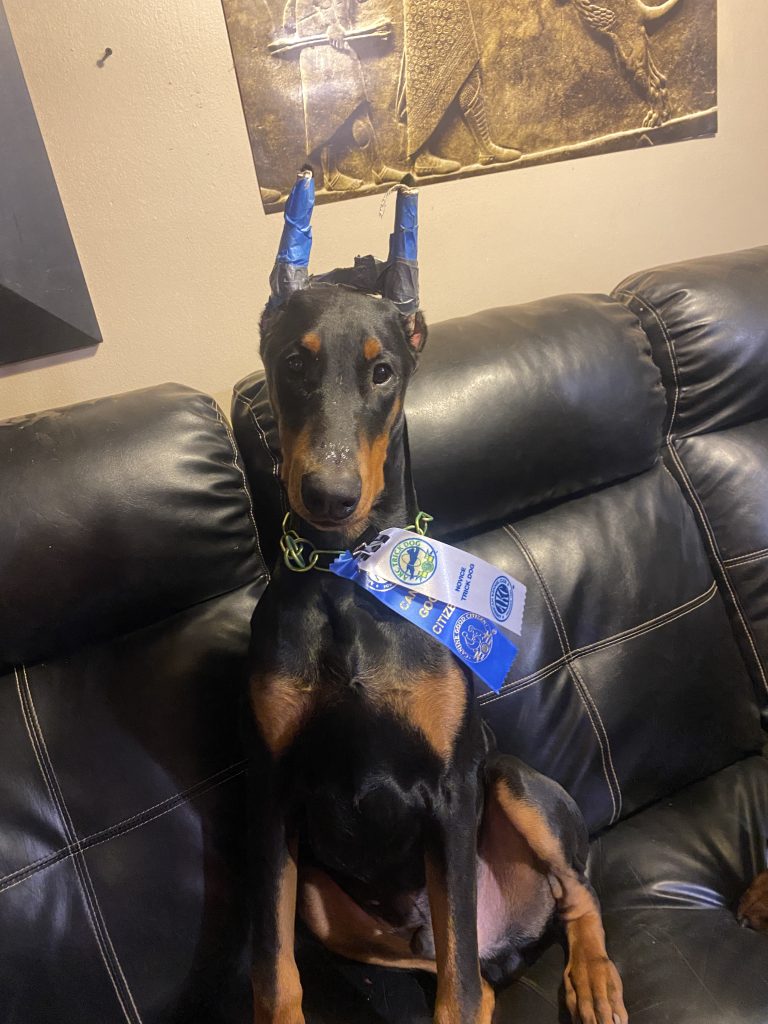
Insert the tampon with backwrapped tape into the ear and stick it to the ear, then wrap a strip of tape around the bottom, and then top -then gently wrap whole ear encasing the post inside the ear--for outside use paper tape or sport tape. you can put colored wrap tape over the paper tape. DUCT TAPE NEVER TOUCHES THE DOGS SKIN!!-note in the picture the duct tape is over the paper tape

What is Needed! + Tips

  • Tampons (cardboard preferred) or Backer Rod
  • 3m low tack tape
  • Patience
  • A PUPPY!
  • TIP: Never Wrap over open wounds
  • TIP: FEED YOUR PUPPY WHILE DOING EARS, make it a fun thing!
  • TIP: some people use Torbot glue, instead of backwards wrapped tape to attach rod to ear.
Scroll to Top